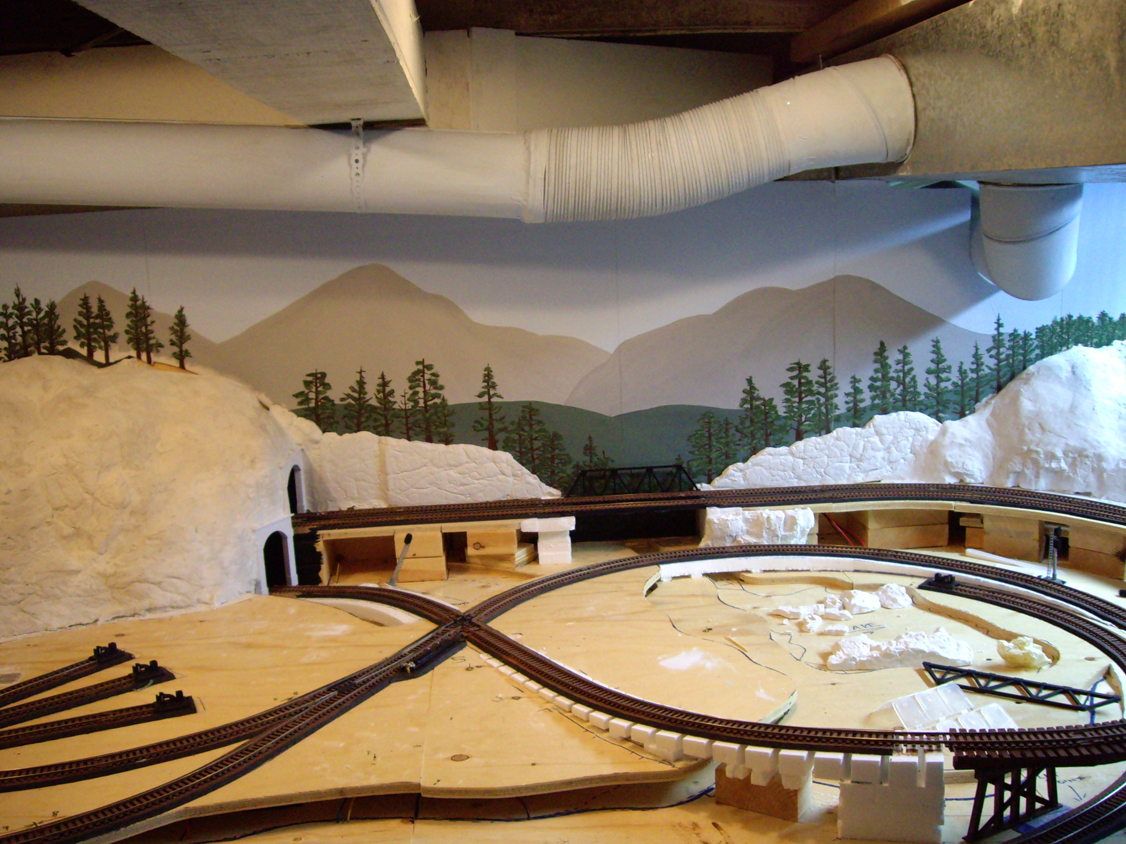
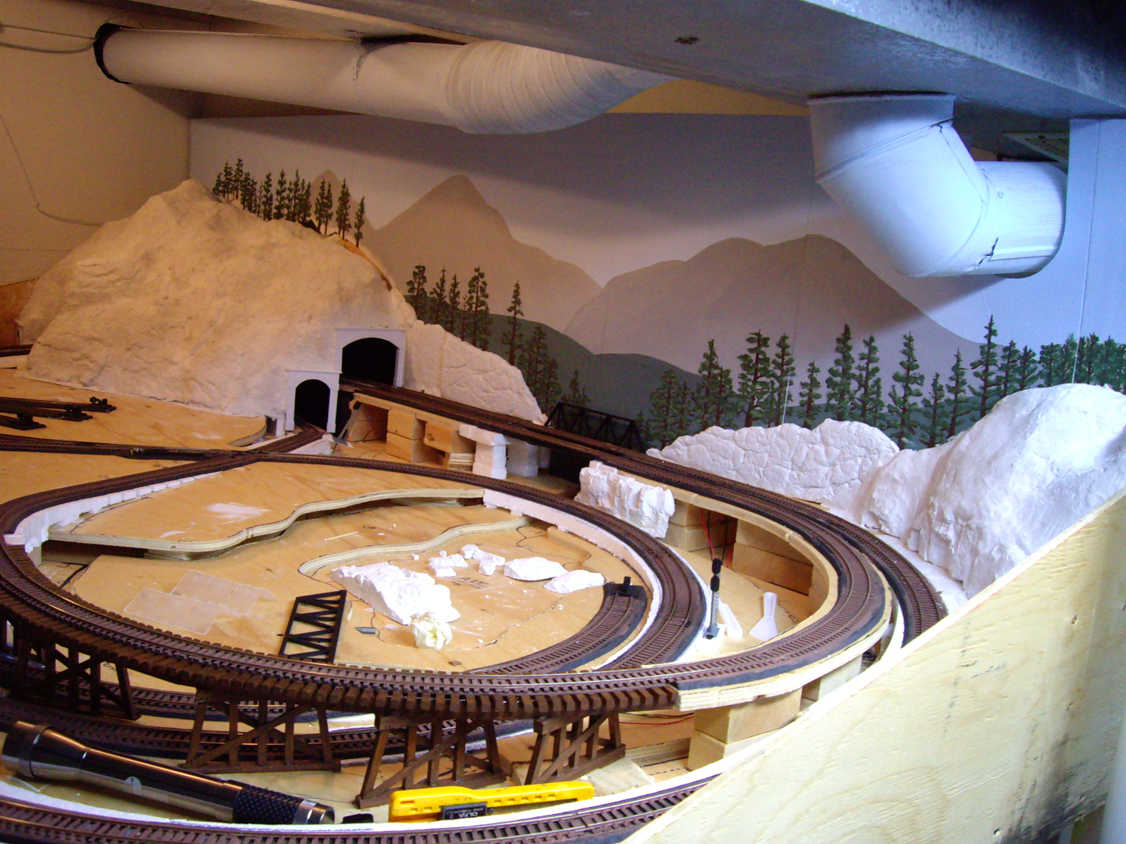
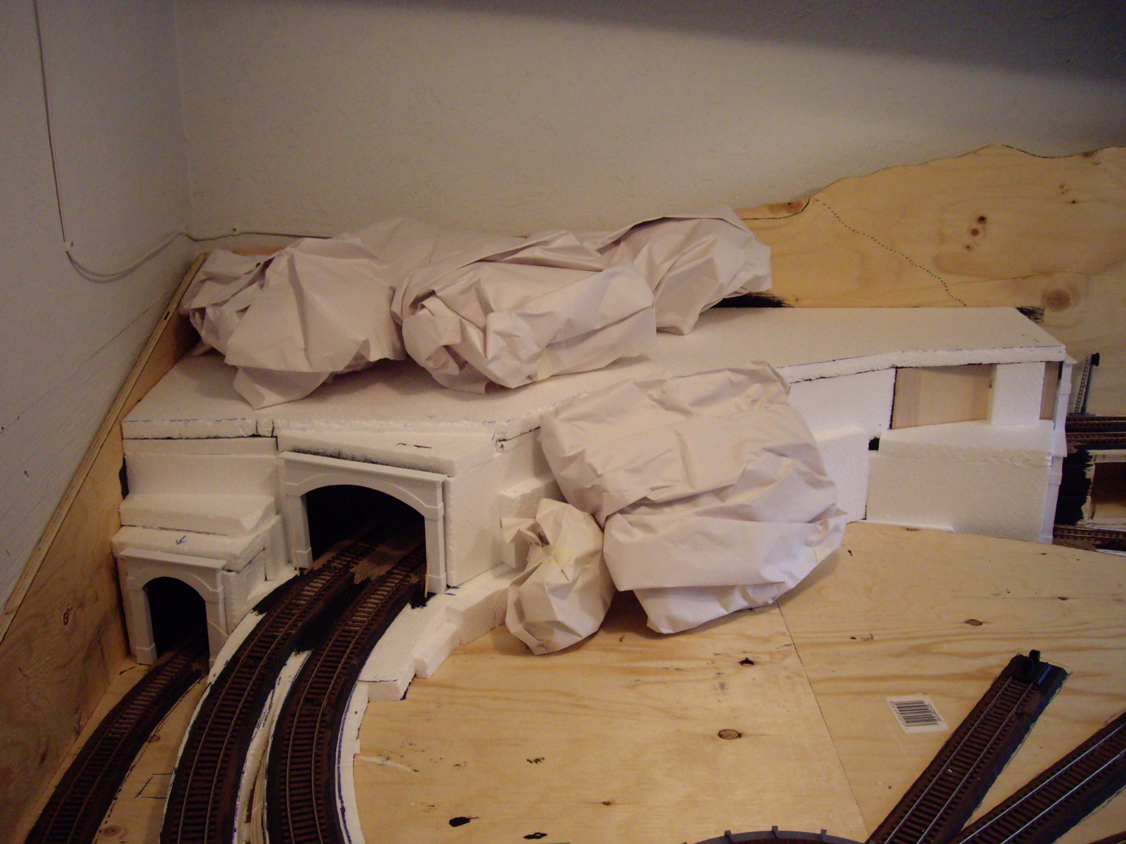
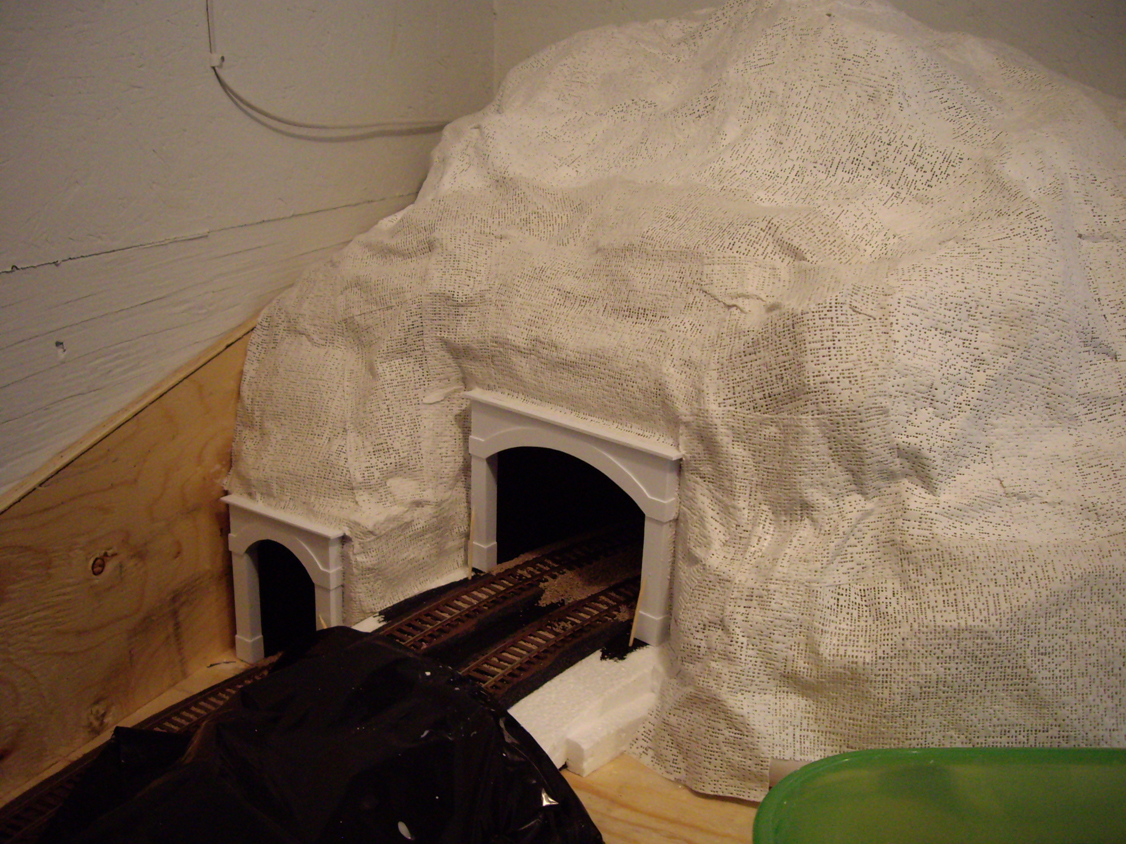
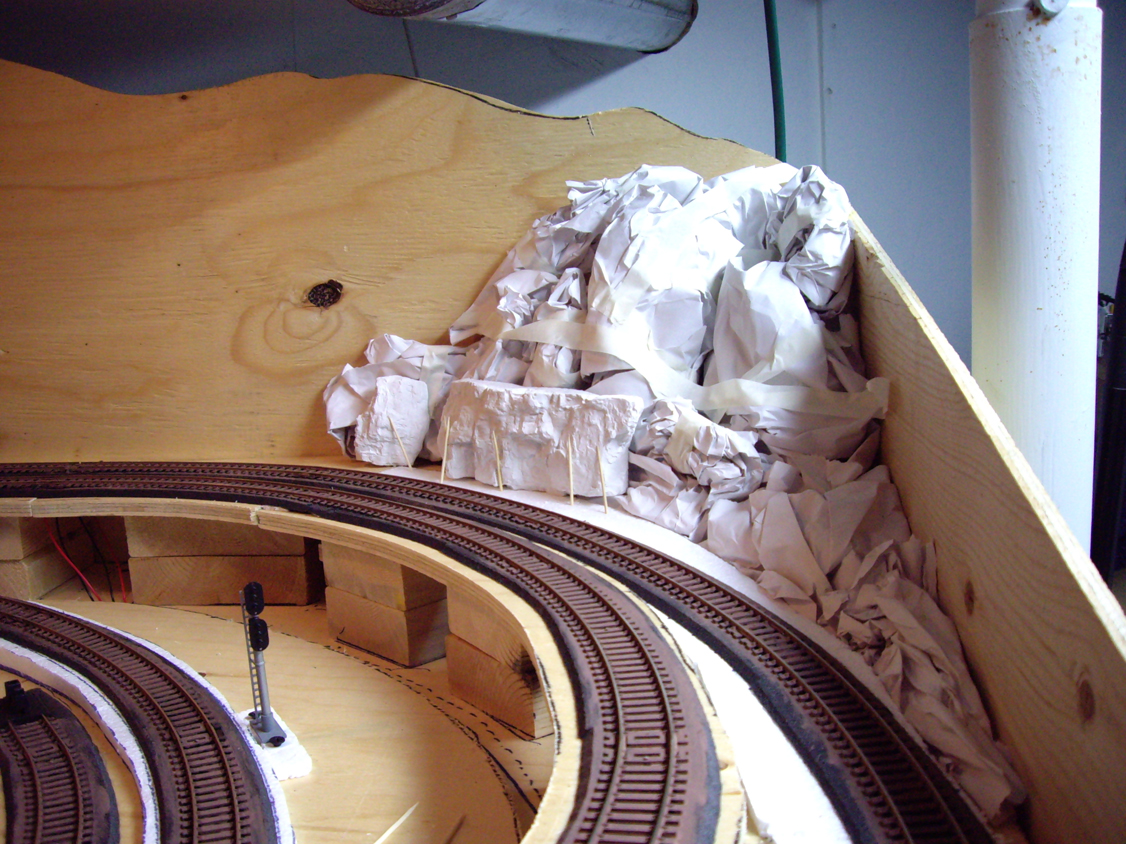
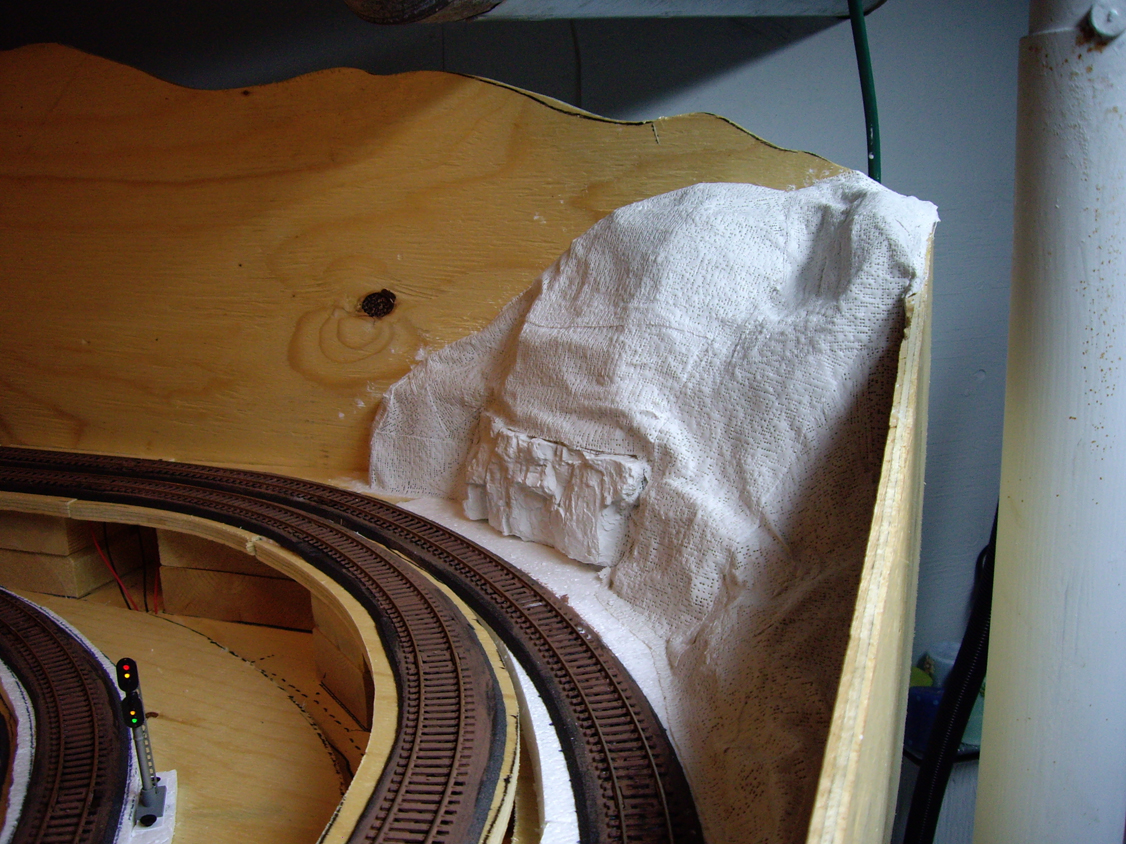
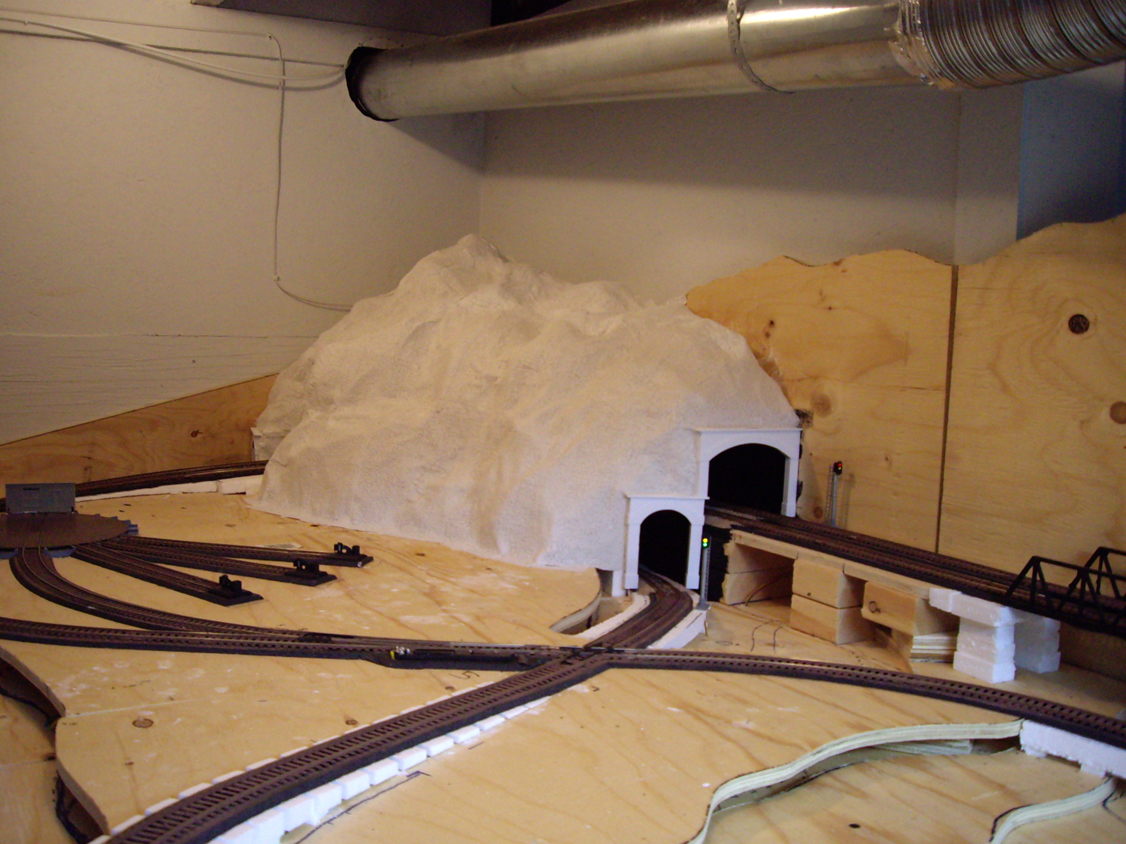
I originally cut the plywood backdrop to be in the shape of mountains but
soon realized that it would be difficult and unrealistic to finish it this
way. Instead, I decided to paint the mountains on one large backdrop. This
way I could include the sky and have the backdrop extend further up to the
ceiling.
The first step was to build the rock outcroppings that extend out from the
large and small mountains to the bridge. I only had about a 3/4" space
between the track and the backdrop, so I had to make these rock outcroppings
pretty thin.
I first traced the basic outline of the rock outcroppings directly onto the
backdrop. I then traced paper templates and used those to start building
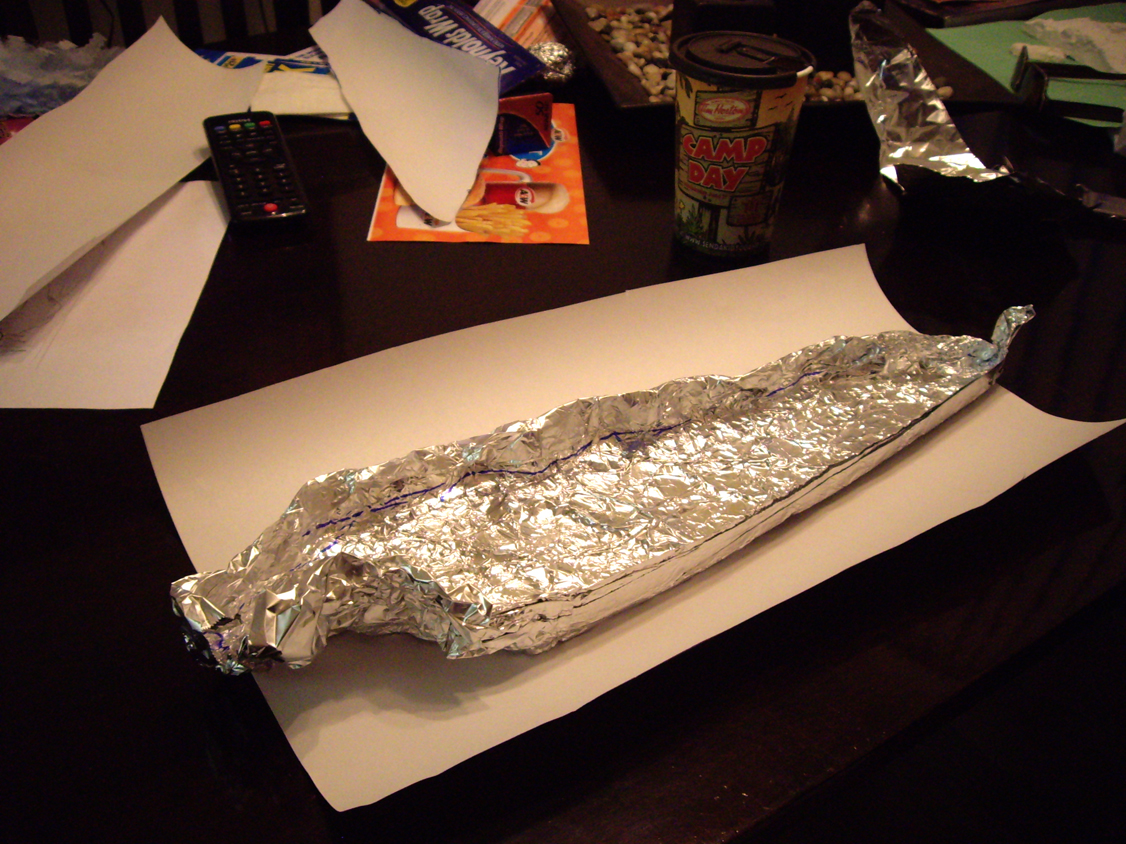
plaster molds. I used aluminum foil to create the molds to the desired shape
and depth.
I gently crinkled the foil and manipulated it with my fingers, ensuring
that the grooves didn’t undercut into the plaster once I poured it. Before
pouring the plaster, I coated the foil with 70% isopropyl alcohol to help
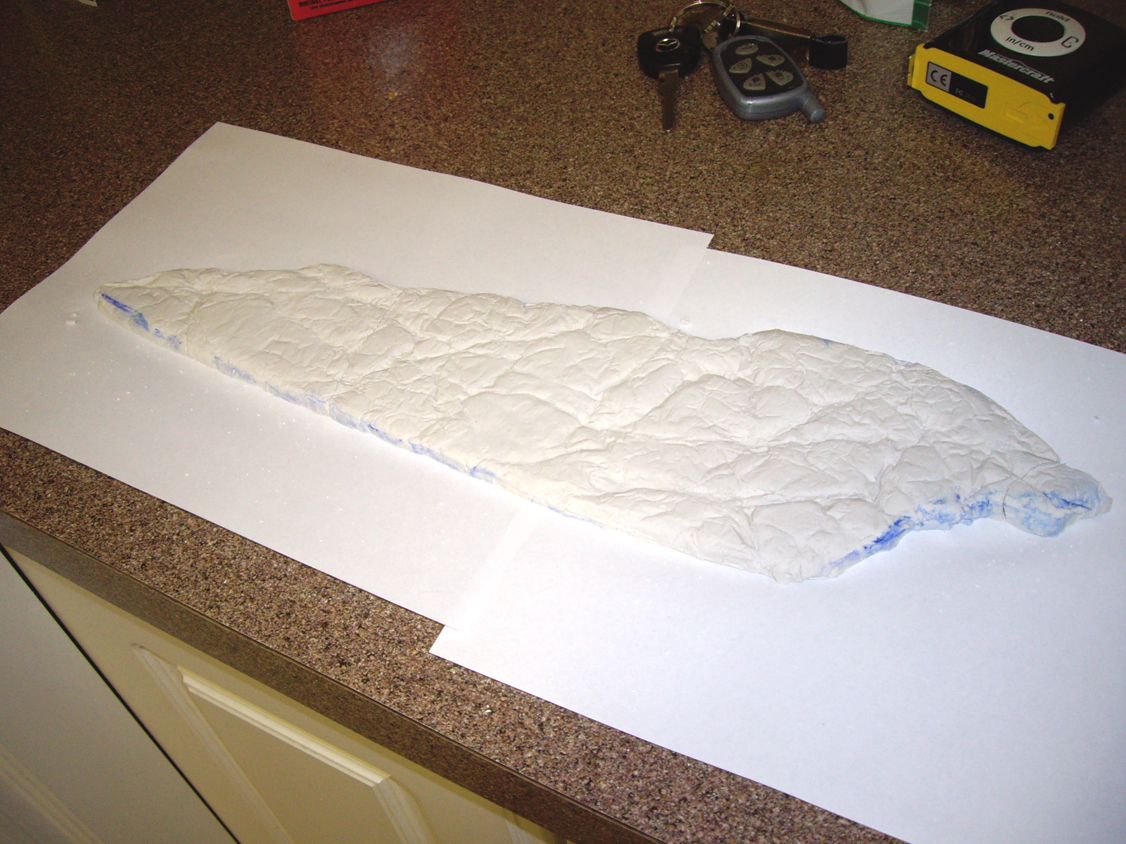
the plaster settle. As soon as the plaster set, I removed it from the foil
mold. This had to be done very carefully. The one castings did break as they
are quite thin. Not a issue however as it was easily glued back
together.
The blue Sharpie I traced the template with on the aluminum foil did
transfer into the plaster in several areas. My recommendation would be to
always draw on the OUTSIDE of your molds and not where the plaster is
placed. Once the castings were completely dry, I glued the cracked sections
together and verified how they fit on my layout.
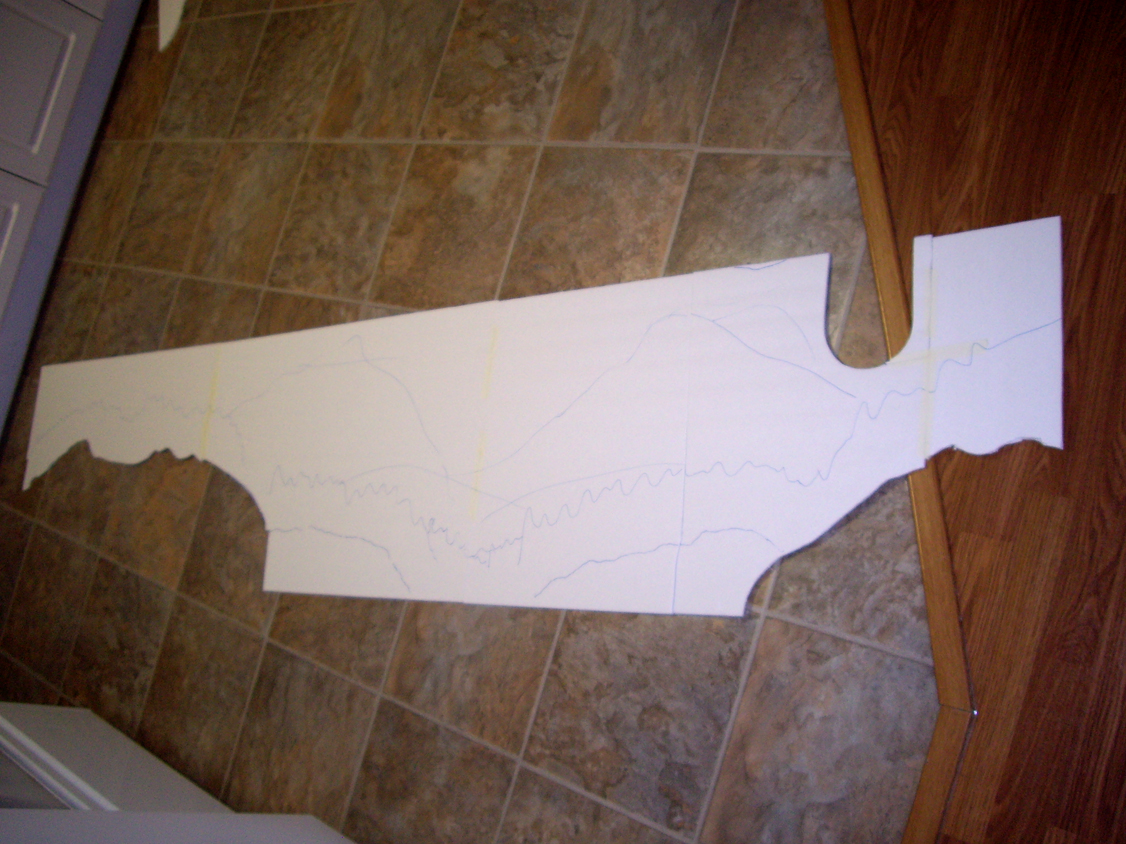
For the backdrop, I used large sheets of foam board which had white
cardstock glued to each side. This provided a sturdy and workable surface. I
made a large template out of scrap newsprint to get the correct shape I
needed my backdrop to be, then traced it onto the foam board and cut it to
shape.
I made a small sketch on paper of how I wanted the backdrop to look to make
sure I had the correct look and feel. I then drew the basic locations of the
mountains, tree lines, rock bluffs, etc. and got right to work painting. I
used acrylic paints from the dollar store which worked great for this
application.
I started with the sky, then the mountains, and last was the trees. I kept
things as simple as possible for two reasons. First, I am not a professional
when it comes to painting. Second, I did a lot of research on backdrops and
found the more simple backdrops are usually more effective. This is because
they tend to not distract from the detailed layout scenery.
Once the backdrop was dry, I fastened it to the original plywood backdrop
with double-sided tape. I then glued the previously cast rock outcroppings
directly to the new backdrop. Lastly, and used Poly-Filler to blend them
into the rest of the layout.

