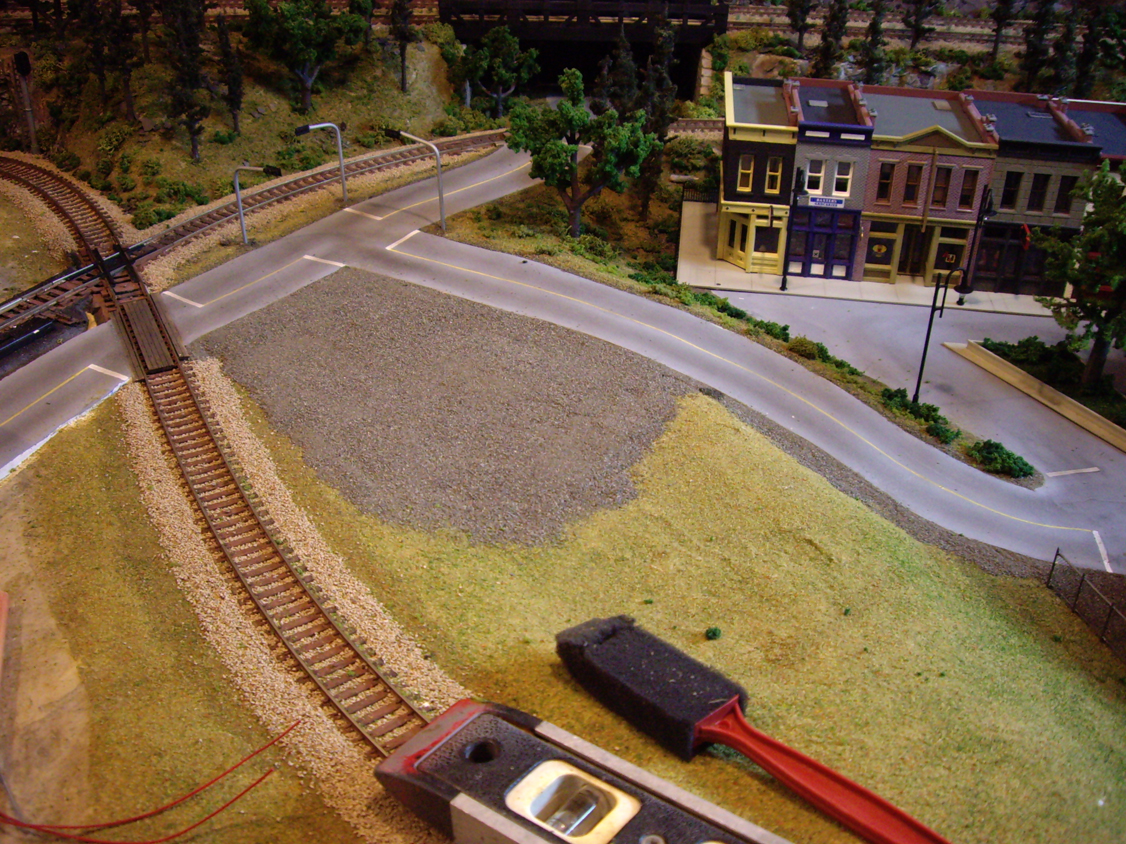
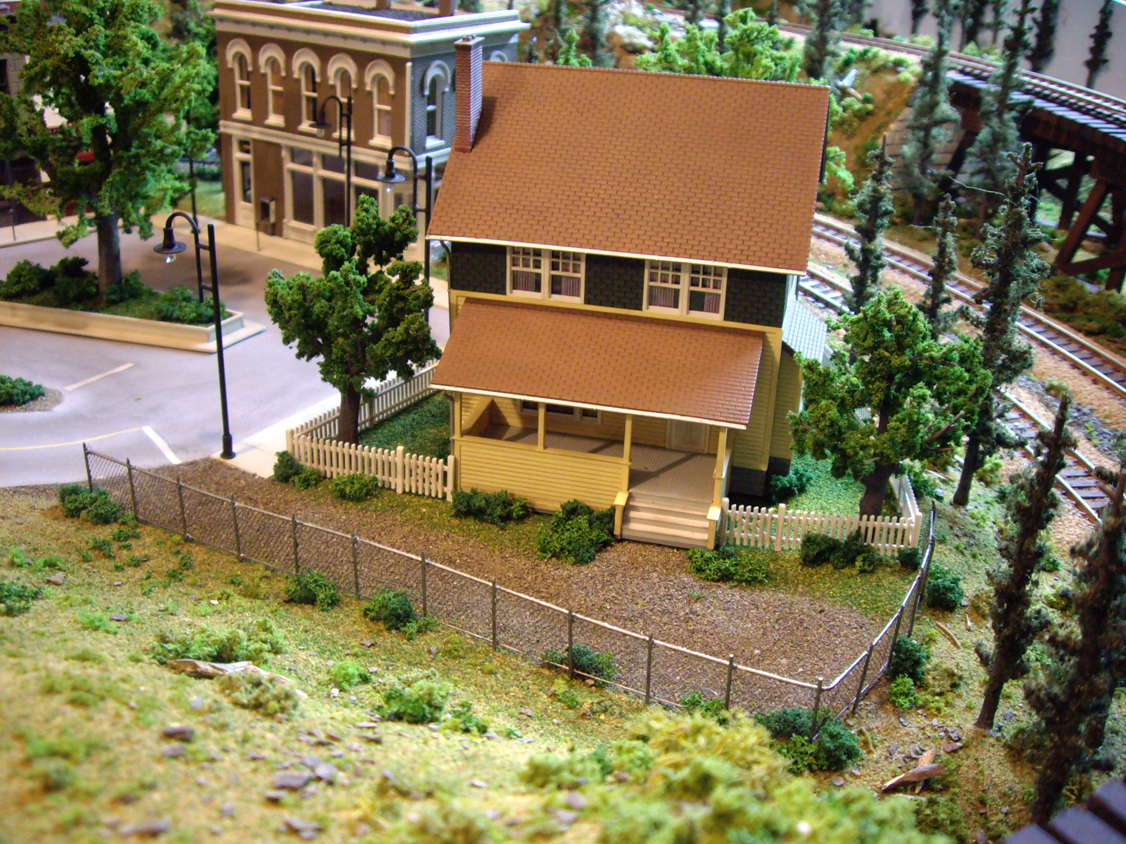
Constructing the main town site of my layout was my next major scenery
project. It consists of my Walther’s Merchant’s Row II, DPM Other Corner
Café, and Kate’s Colonial Home kits. These are all set around the circular
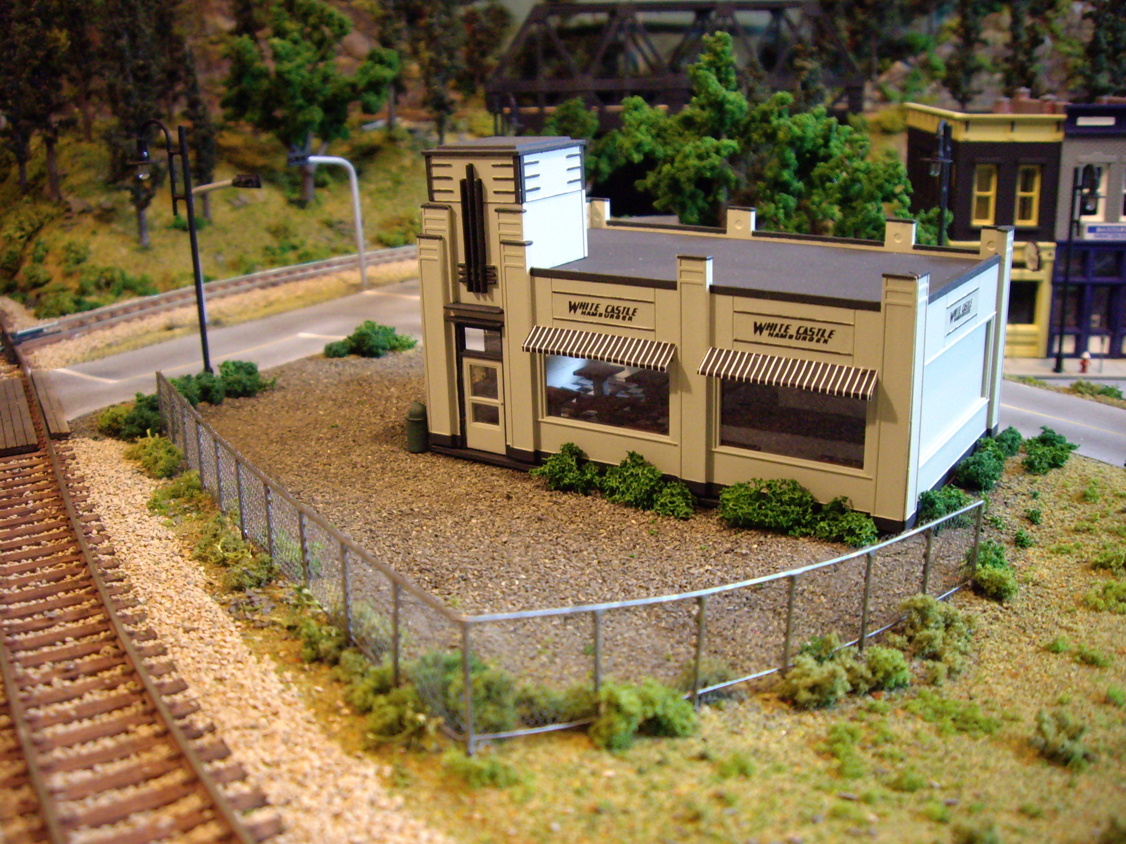
main street with my Walther’s White Castle Restaurant kit overlooking the
scene from up the street. The number of buildings is quite limited due to
the terrain and size limitations of my layout, but the few buildings I do
have give a good representation of a full-sized urban town.
The town site sits on an area that I had previously allocated for a small
pond, but I decided early into my layout’s construction that building a town
site would be a better utilization of the space. The pond will just have to
wait for another layout. I had already planned the overall layout of the
town site, including the street, sidewalk, and building locations, so all I
needed to do at this point was start laying down scenery.
I had previously used Woodland Scenics Smooth-it to create a large flat
area to which the town would sit upon. After sanding and painting the entire
area the same gray colour as my roads, I made paper templates which
represented the footprint of each building. The templates helped me ensure
each building would have a good fit around the small, circular roadway. The
painted and weathered styrene sidewalk I had built was also glued down at
this point using construction adhesive.
Blended turf was next. This would represent the green spaces between the
buildings as well as the yard of the house. The turf in the yard of the
house was applied a bit greener then the rest of the town’s green space to
represent better upkeep and maintenance. I used an Atlas White Picket Fence
kit to border the yard of the house and an Atlas Hairpin style fence kit to
between the tracks and commercial buildings. I used superglue to fasten the
fences to the layout.
My Walther’s White Castle Restaurant kit is located just up the road from
the downtown area, situated at the corner of one of the two t-intersections.
I opted for a gravel parking lot, so I started by lying down and leveling
sifted dirt. Using a small pipette, I cemented the sand down with isopropyl
alcohol and thinned white glue. After drying for a day, I applied blended
turf to define the median between the shoulder of the road and the parking
lot. I used a paper mask to prevent the turf from drifting onto the main
parking lot.
Finding model chain link fences was proving to be difficult, so I turned to
the internet to see if I could make my own. After finding several helpful
articles, I easily made my own fences using brass rods and tulle I purchased
at a local fabric store. I started by drawing a scale 6’ tall chain link
fence template on a small scrap piece of wood. I then cut .81mm brass rod
into the required lengths of each fence post, and taped them directly over
the template with masking tape. A full 12” brass rod was used as the main
rail along the top, and a 12” length of music wire was used as the bottom
support rail.
I carefully soldered the support rails to the posts. A bit of sanding was
required after making the solder joints, as the solder left large,
unrealistic joints. The next step was to lay the tulle over the backside of
the fence’s frame with super glue. I found that super glue worked the best
to attach the tulle material to the brass rod. Once the glue had fully
dried, I used flat-head trimmers to gently trim the access tulle from the
frame.
Painting the fence was next. For this, I used metallic gray acrylic paint,
ensuring all of the brass rod and tulle material was fully coated. After
bending the fence to the appropriate angle, I used super glue to fasten it
to my layout.
I had a little trouble with this particular installation as the terrain
wasn’t level, so I had to bend the fence on its horizontal access, which
caused the tulle material to bind in some spots. Many of the small defects
in the tulle (that were caused from bending the fence), were easily covered
and hidden with shrubs that I added after installing the fence.
The center median and sidewalk for my downtown scene were completely built
from scratch using bulk styrene. The sidewalk was built to match the
existing sidewalk that was included in my Merchant’s Row II kit, so
determining sizing and spacing was quite straight forward. I used a dull
hobby knife and metal straight edge to etch the concrete expansion joints
into the styrene and painted everything light aircraft gray.
The median features a center-raised green space topped with bushes and a
large deciduous tree. I started by gluing the tree to the inside base of the
median, then filled it with fine sifted dirt. After cementing the dirt in
place with thinned white glue, I topped the dirt filler with blended green
turf and various shrubberies.
All of the street lamps were purchased off eBay and run off of 12V DC. I
did add a 100 ohm resistor to each lamp however, as running them at 12 volts
seemed a bit too bright. To install the lamp posts, I simply drilled a 1/8”
hole into the layout and ran the street light’s leads through to the wiring
below my layout.
The lamp posts were a bit loose in the 1/8” holes so I solved this by
wrapping a small piece of electrical tape around the base that fit into the
hole. This made everything nice and snug. All of the buildings were also
installed by this point and electrical connections were made for lights to
leads that run to the underside of the layout. None of the buildings are
fastened to the layout, which makes removal much easier if work is required
on any of them in the future.
The final details I added to my downtown scene were accessories from a
Walther’s City Accessory kit. I carefully painted each accessory and placed
them where necessary along the sidewalks, attaching them with superglue
(which came in especially useful when installing the tiny parking meters).
The original blue US Postal Service mail boxes were painted red to represent
Canada Post mail boxes and include hand-cut white Canada Post
logos.
I obviously still need to add the ‘final’ details to my downtown scene to
fully complete it, which would be people and vehicles, but that is something
that will be completed in the near future. My town, as well as the streets
and the overall railroad, still disappointingly need to be named too, so if
you have any good ideas, please send them my way!


